Installing a Plugin
When installing a plugin in Moodle, you must check first your current Moodle version to know if there's a compatible version for your site (Site administration > Notifications page).
Step 1: Go to the Moodle Plugins directory and search the plugin you want to install.
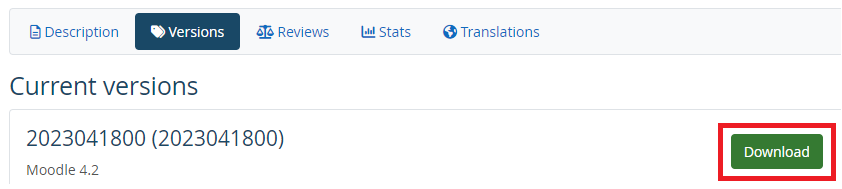
Step 2: On the page of your chosen plugin, click on the "Versions" tab and select the current Moodle version of your site, then click the "Download" button to download the ZIP file.
Step 3: Once downloaded, log in to your Moodle site as an administrator and go to the Site administration > Plugins > Install plugins.
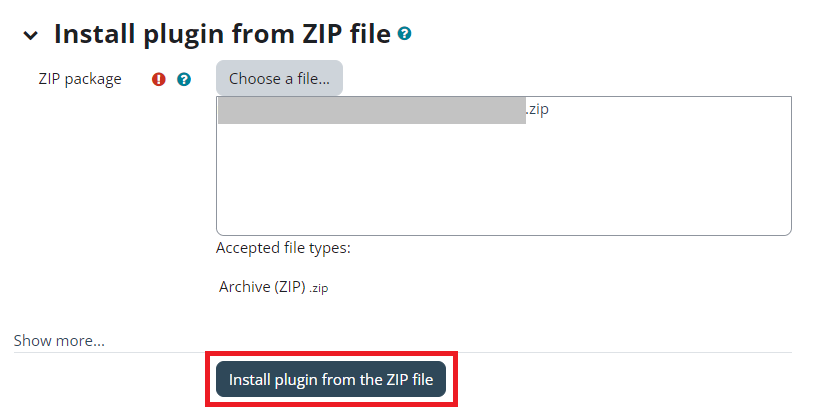
Step 4: On the Install plugin from ZIP file page, upload the ZIP file and click the "Install plugin from ZIP file" button.
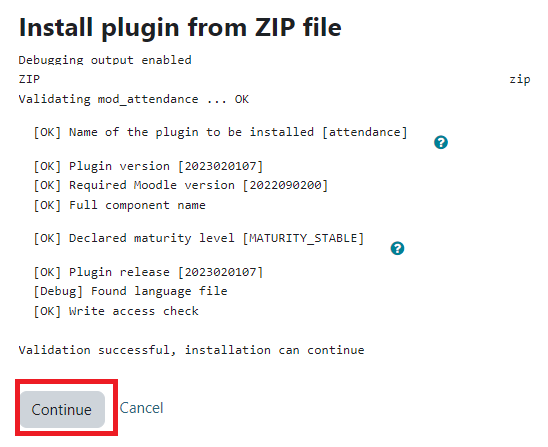
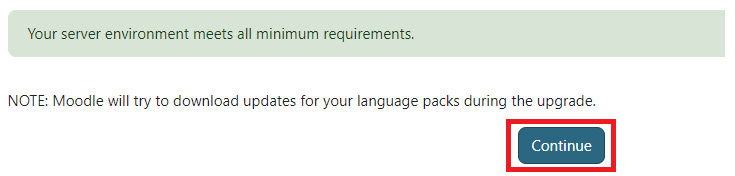
Step 5: Click the "Continue" button if the plugin validation report is successful and your server environment meets all minimum requirements.
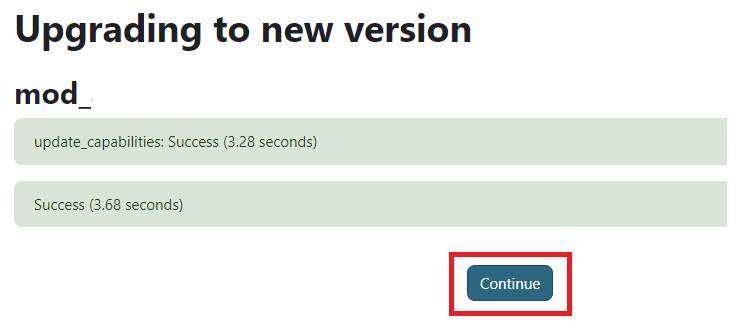
Step 6: Click the "Upgrade the Moodle database now" button and "Continue" button once the plugin is installed successfully.